

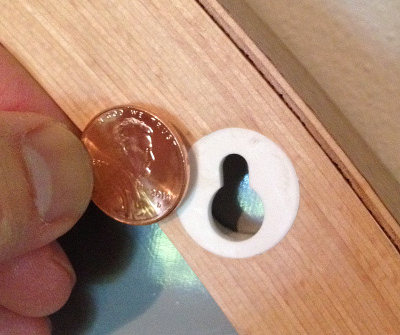
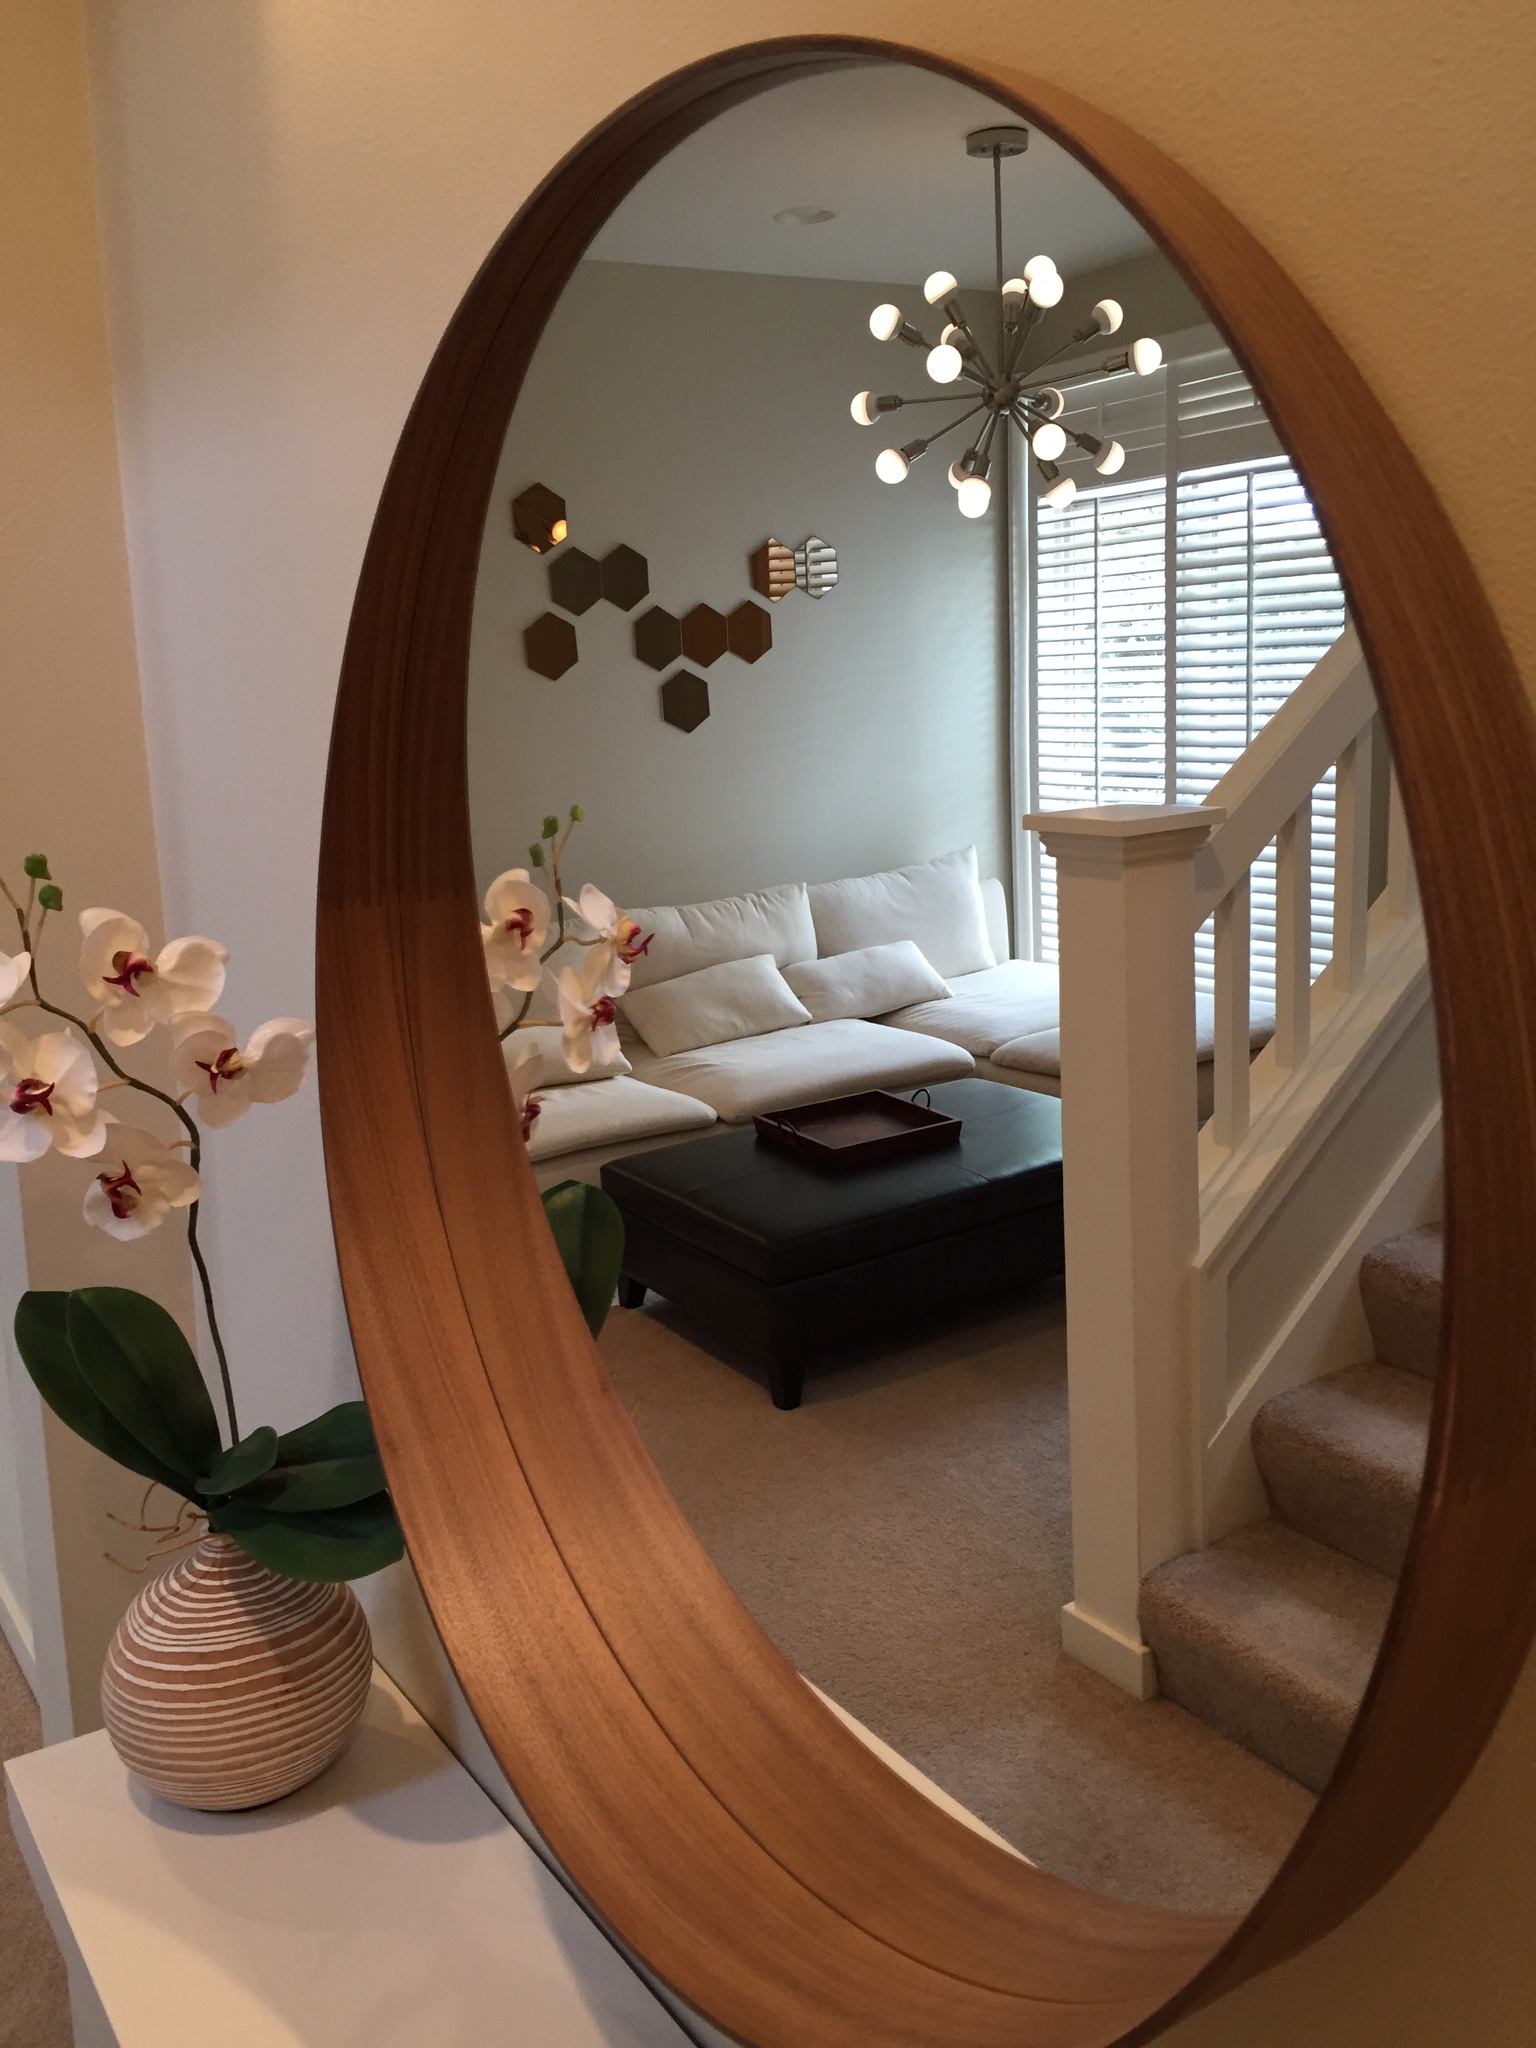
The Stockholm mirror has 2 little eyelets on the back off to the left and right.
One way to hang the mirror is to measure the distance between the eyelets and put nails/screws precisely lined up with the eyelets. This seems like a recipe for lots of mistakes.
I found a better solution.
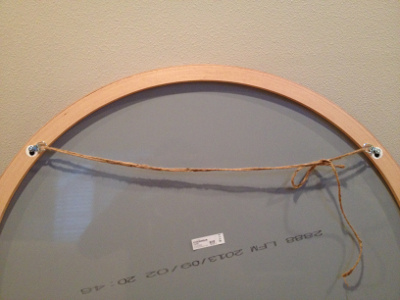
The basic idea is to hang the mirror from a wire that stretches across the back of the mirror on a single hook.
Step 1 - Gather the materials
- Wire or twine (strong enough to hold up 10lbs).
- 2 D-rings.
- 2 screws and corresponding nuts that fit through the D-ring screw hole.
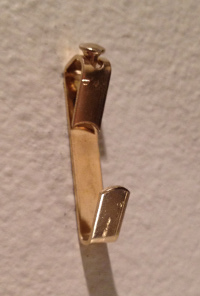
- Heavy duty picture hook.
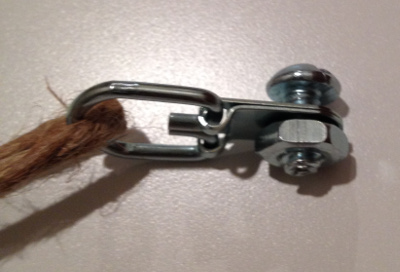
Step 2 - Attach the D-rings to the mirror
Attaching the D-rings to the mirror is the best part!
D-rings generally come with wood screws to screw into picture frames. We won't be using these wood screws.
(Check-out this article on What is a D-ring?)
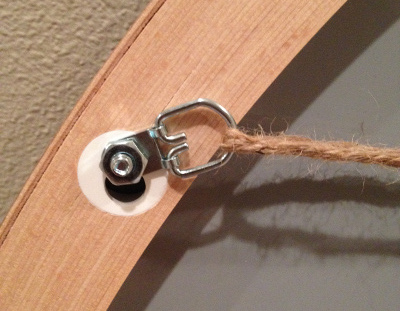
Instead, you'll need the 2 screws and nuts. The mirror is hung off the head of the screws. The nuts secure the screw to the D-ring.
Step 3 - Loop the wire/twine through the D-rings
After both D-rings are secured to the mirror eyelets, loop the wire/twine through both D-rings.
Knot the ends of the wire/twine together. I used a double fisherman's knot. The mirror is ready to be hung, but first you'll need to nail the picture hook to the wall.
Step 4 - Nail the picture hook to the wall
Find a stud in your wall, and nail the picture hook into the stud.
Step 5 - Hang the wire/twine on the picture hook
Everything's ready! Hang the mirror by the wire/twine from the picture hook. The mirror will center itself out and hang centered on the picture hook.
About the Author
Hacker Bits has affiliate partnerships e.g. Amazon. These do not influence editorial content, though Hacker Bits may earn commissions for products purchased via affiliate links.
Comments 20
Thank you!
This worked perfectly for my two (2) mirrors from Ikea. Much appreciated that you shared.
Craig/
@Craig: Happy it worked for you, too!! 🙂
What diameter hole opening d rings did you use?
@Pav: They are 1/2″ (approx. 1.25cm) in diameter.
Hi. Sorry gonna sound really silly. But what size screw and nut do i need? And do you know which particular d ring will fit this screw and nut?
@Pav: The size of the D-ring hole is 3/16″ (approx. 0.5cm), and the screw fits just right.
You should be able to find various sizes of screws and nuts at your local hardware store. The trick is getting the one that will fit in the D-ring hole, since D-rings are generally packaged at the hardware store. I basically just estimated a guess. To save going back and forth to the store, you might buy a few screw/nut combinations, since they’re quite inexpensive.
Hi…just bought the Stockhom mirror and I like the D-ring idea as I was worried about lining up the the 2 screws level and spaced apart accurately.
But if you use the D-rings with the nuts & bolts…did it look a little strange as the mirror will not be flush against the wall? (i.e. you will have a gap where the nuts/bolts are)
Hi, Will!
There will be a small gap between the mirror and the wall. The gap is about the thickness of the nut. IMO, it’s hardly noticeable unless you’re looking for it. 🙂
To get the mirror to hang flush with the wall will require a different solution.
You might be able to tie the twine around something like a small plate that could fit through the eyelet, but then turn it length-wise so that it won’t fall out of the eyelet. I haven’t tried this myself, but it may work if you find something strong and secure enough to go into the eyelet.
If you find something that works for you, please post how you got it to work.
Thanks so much for sharing this info! So helpful!
Much appreciated… Glad you found it helpful!
I purchased the Stockholm mirror today and was contemplating my approach with our fussy lath and plaster walls. Then I happened upon your post. Your idea is brilliant. Thank you for sharing!
Can anyone tell me what height the fixing point are on the actual mirror? I need to put a bit of framing in the wall before the gib goes on. Thanks!
Thanks. Just what I needed!
Well, it’s real nice of you to share this, Ray. And I’m sure some people will prefer this method.
But there’s a reason IKEA used those flush-mount anchor points: So you could mount the mirror flush against the wall.
The method you describe is fine for a mirror in a foyer or living room. In those places, it’s fine to hang a mirror more as you would a picture. But I wouldn’t want to hang a bathroom mirror this way.
Okay, I also live in a small town and it’s late and posting comments like this, or watching Netflix, are about all there is to do. But still. :?)
Author
Thanks for choosing Hacker Bits over Netflix, Ander! 🙂 Definitely appreciate the comment. I have a few ideas on hanging the mirror flush using a similar concept. I likely update this post once I test it out.
Hi Ray Li,
Thanks for this write up. I’m a novice DIY-er so excuse my ignorance but what do you mean by “find a stud in your wall”? What exactly is a stud?
What do you think about using command hanging strips around the edges of the mirror as an alternative method?
Thanks,
Patricia
Author
Wall studs are the vertical frames behind your walls. Here’s a great article on locating studs: https://www.lowes.com/projects/decorate-and-entertain/how-to-find-studs-in-walls/project.
I’ve come across a few how-tos using command strips. However, I have never done this myself with something as heavy as a mirror (just picture frames and paintings). I would be wary, but command strips have indicated they can support 15+ lbs.
Unwrapped my Ikea Stockholm mirror yesterday, and spent a minute scratching my head, wondering how to mount it on the wall. A quick google search brought me to this post, and boom, I have a perfectly mounted mirror on my wall now. Thanks bud!
Thanks for this post! It worked great for me, too. One thing I realized—you want to pick screws with a big head, and not tapered between the screw head and body.
What screw and nut do you pair with the d-ring? If you wouldnt mind linking..Thanks!